
Here’s how to iron a printed t-shirt safely: turn it inside out, set the iron to low or medium heat, and press around the graphic rather than over it. If you need to smooth the printed area, put a thin pressing cloth between the iron and the fabric. Never iron directly on the print. Better still, use a steamer or hang the tee in a steamy bathroom and skip the iron altogether.
But if you’ve ever lifted an iron and found half a graphic stuck to it, you know the details matter. Prints can melt, smudge, crack, go shiny or peel when they get too hot. So let’s go step by step, including when you don’t need to iron at all.
Why Printed Tees Need Extra Care
Most tee graphics sit on or in the fabric surface as a layer of ink, film or other material. Heat is the main thing that damages them. Depending on the type of print, too much heat can:
- Melt or soften the print so it smears or sticks to the iron
- Make it shiny or leave an iron-shaped mark
- Crack or wrinkle the print as it cools unevenly
- Loosen the edges so they start to lift or peel
- Flatten raised prints, like puff or textured graphics
Different print methods react differently, but you don’t need to know how your tee was printed to protect it. The safe approach below works for most graphic tees. If your tee has a care label, follow that first.
Before You Iron: Do You Even Need To?
A lot of tees don’t need ironing at all. Heavier cotton tends to hang smoother, and many wrinkles drop out on their own if you dry and store tees well.
Try these first:
- Shake it out and hang it straight after washing. Most wrinkles form while tees sit crumpled in the machine.
- Dry on a hanger, smoothing the body and sleeves by hand while damp.
- Hang it in the bathroom while you shower. The steam relaxes light creases.
- Lightly mist with water and smooth with your hands, then let it hang.
- Fold or roll neatly when storing, rather than stuffing tees into a drawer.
For an oversized or relaxed tee, a few soft creases are often part of the look. Not every tee needs to look freshly pressed.
How to Iron a Printed T-Shirt: Step by Step
If you do need to iron, here’s the safe method.
Step 1: Check the care label
Look for the iron symbol. Dots inside it show the heat level: one dot for low, two for medium, three for high. A crossed-out iron means don’t iron. If the label says not to iron the print, take that seriously.
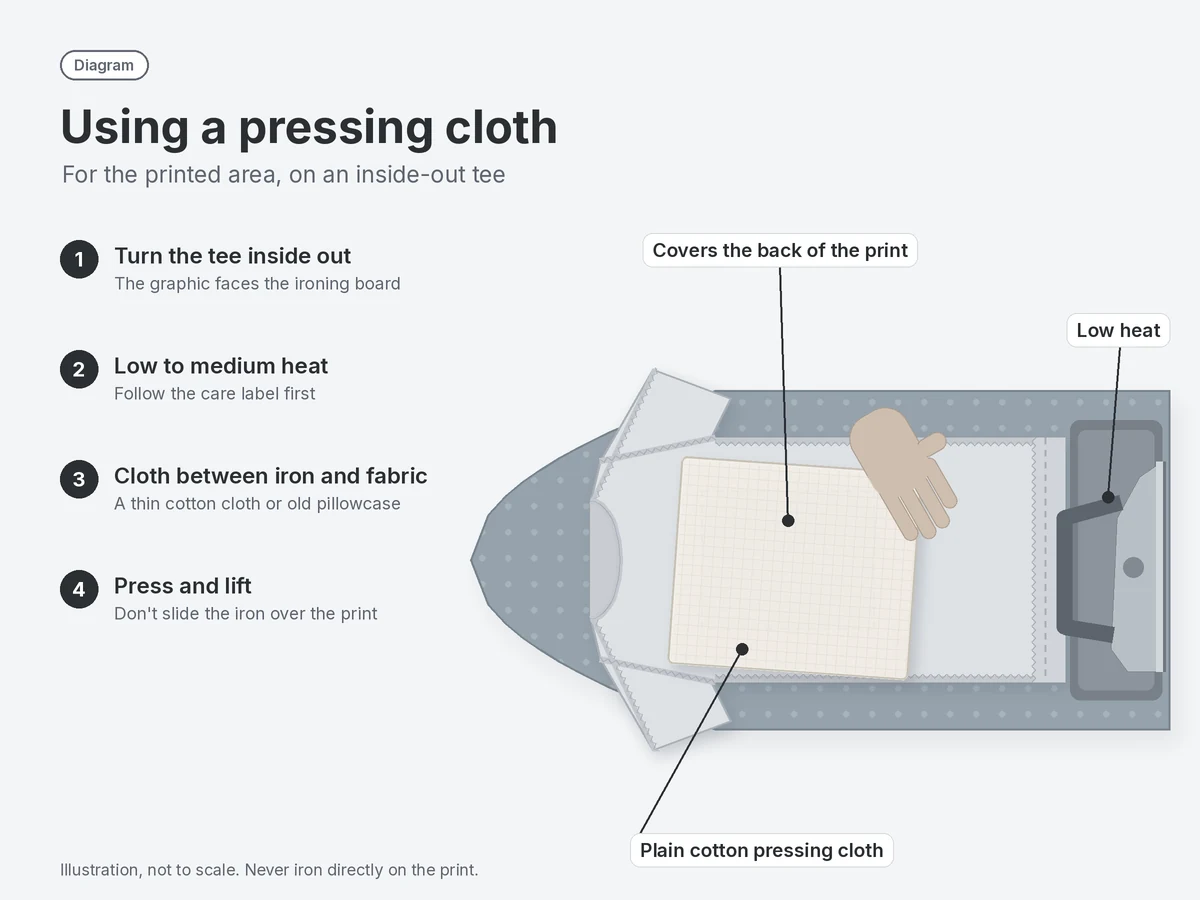
Step 2: Turn the tee inside out
This puts the plain inside of the fabric against the iron and keeps the graphic facing the ironing board. It’s the single most important step.
Step 3: Set a low to medium heat
Start low. Cotton can usually take more heat, but the print usually can’t. You can always turn it up a little for plain areas, but you can’t undo a melted graphic.
Step 4: Lay it flat and smooth it out
Spread the tee flat on the ironing board. Smooth the fabric with your hands so you’re not pressing creases into it.
Step 5: Iron the plain areas first
Work on the sleeves, shoulders, back (if the print is on the front) and sides. Keep the iron moving. Don’t let it sit in one spot.
Step 6: Treat the printed area carefully
For the area behind the graphic:
- Lay a pressing cloth (a thin cotton cloth or an old pillowcase works) over the fabric
- Press gently with low heat, lifting and placing the iron rather than sliding it
- Keep it brief. A few seconds is enough
Or simply iron around the graphic and leave the print area alone.
Step 7: Let it cool flat
Leave the tee flat for a minute before you pick it up or turn it the right way out. Warm prints are more delicate, and moving them too soon can cause wrinkles or marks.
Steam vs Iron: Which Is Better for a Tee?
Steam vs iron tee care comes down to how much contact and heat you want.
| Garment steamer | Iron | |
|---|---|---|
| Contact with fabric | None or very light | Direct pressure |
| Risk to prints | Lower, if kept moving | Higher, especially without a cloth |
| Best for | Everyday creases, hanging tees | Sharp, flat finish |
| Speed | Quick | Slower, more setup |
| Good tip | Steam from the inside of the tee | Iron inside out, low heat |
For most graphic tees, a steamer is the gentler choice. Hang the tee, steam from top to bottom, and keep the nozzle a little away from the fabric. Avoid holding steam on the print for a long time, especially on raised or textured graphics.
No steamer? A steam iron held just above the fabric (not touching) can do a similar job for light creases.
Iron-On Prints: Extra Caution
Iron on print graphics, also called heat-transfer prints, are applied to the tee using heat in the first place. That means they’re especially sensitive to heat afterwards. Too much can soften the adhesive and make the design lift, bubble or peel.
For these:
- Always iron inside out.
- Use low heat and a pressing cloth or baking paper between the iron and fabric.
- Never iron directly on the design.
- Let it cool completely before handling.
If you’re not sure what kind of print your tee has, treat it like an iron-on print. That’s the safest assumption.
Cara Gosok Baju Bercetak: Ringkasan dalam BM
Untuk pembaca yang mencari cara gosok baju bercetak, ini versi ringkasnya:
- Terbalikkan baju supaya bahagian cetakan menghadap papan seterika.
- Guna suhu rendah atau sederhana.
- Jangan seterika terus atas cetakan. Letak kain nipis di atasnya jika perlu.
- Gerakkan seterika, jangan biar di satu tempat.
- Biarkan sejuk sebelum mengangkat baju.
- Lebih selamat guna steamer atau gantung baju dalam bilik air yang berwap.
Common Ironing Mistakes to Avoid
- Ironing the print face up. The fastest way to ruin a graphic.
- Using the cotton or high setting by default. Great for plain shirts, risky for prints.
- Leaving the iron in one place, even for a few seconds.
- Ironing a damp print with high heat. Moisture plus heat can make some prints react badly.
- Sliding the iron over the back of the print. Press and lift instead.
- Using a dirty iron plate. Old residue can transfer onto your tee.
What if the print sticks to the iron?
Stop immediately and unplug the iron. Let everything cool before you try to separate them, as pulling while hot can tear the graphic. Once cool, clean the iron plate according to the manufacturer’s instructions. The print may be damaged, but acting calmly can limit it.
How to Keep Tees Wrinkle Free Without Ironing
A wrinkle free tee mostly comes down to good laundry habits:
- Don’t leave tees sitting in the washing machine after the cycle ends.
- Use a lower spin speed for tees, which means fewer hard creases.
- Shake and hang immediately, smoothing seams and hems.
- Dry in the shade on a hanger or flat.
- Fold or roll once dry. Rolling works well for travel too.
These habits also protect your prints and colours in the long run. Our full routine is in How to Wash a Cotton Tee So Prints and Colour Last.
Does Fabric Weight Affect Wrinkles?
Generally, heavier cotton holds its shape better and hangs smoother than very thin fabric, so it may need less ironing. Our tees are combed cotton between 230gsm and 260gsm. If you want to understand what those numbers mean, read What Does 250gsm vs 260gsm Mean?.
Weight doesn’t change how carefully you should treat a print, though. Whether your tee is light or heavy, the inside-out, low-heat rule still applies.
Love Graphic Tees? Look After Them
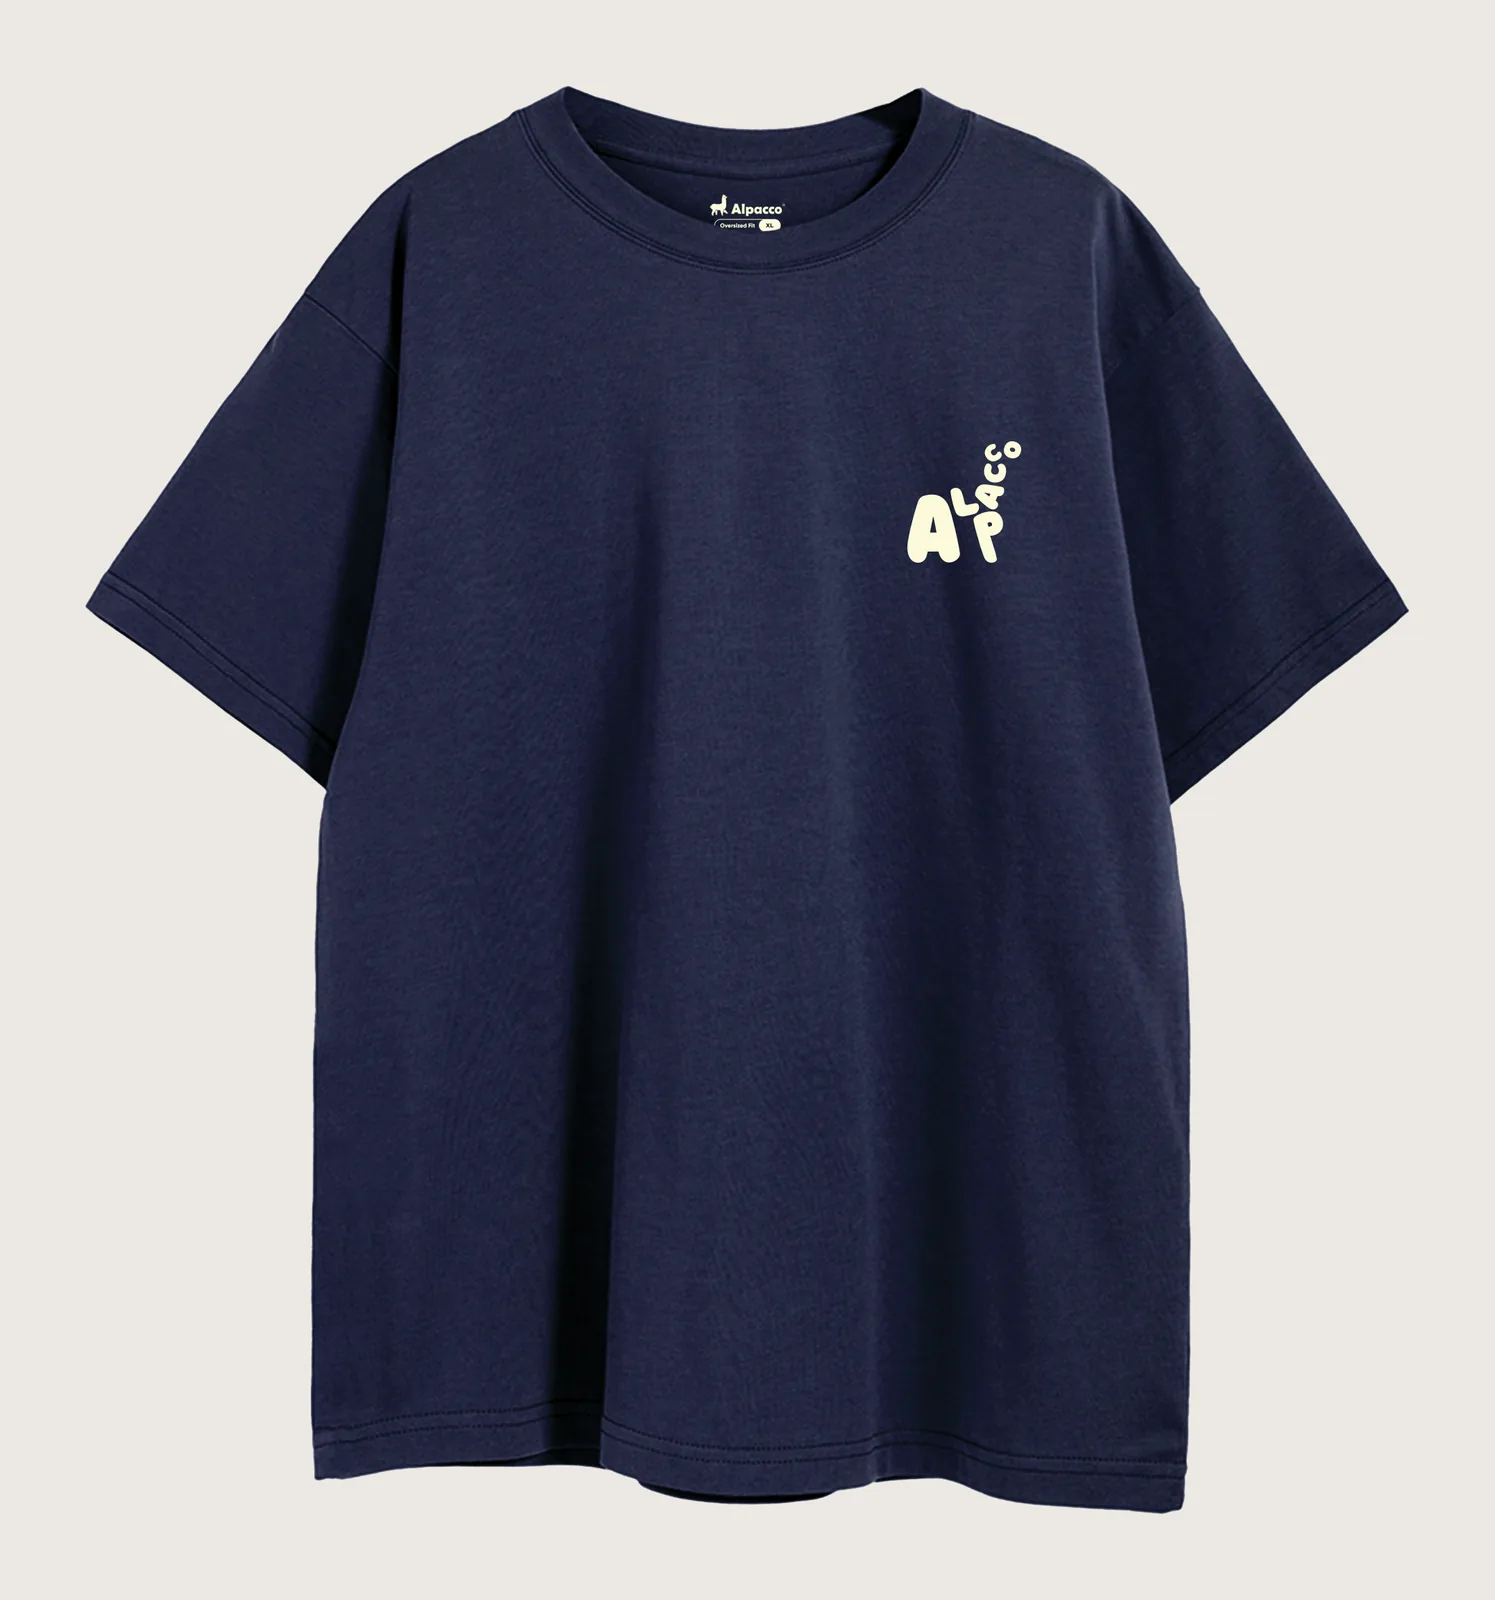
Printed tees are fun because of the graphic. It’s worth a few extra seconds to protect it. If you’re new to graphic tees, our What Is a Graphic Tee? guide is a good place to start.
Ready to add one to your wardrobe? Browse the MT Mood Tee on Shopee: 260gsm, oversized, drop shoulder, with mood-led graphics by designer Nick Loo.
Key Takeaways
To iron a printed t-shirt, turn it inside out, use low to medium heat, and press around the graphic, using a pressing cloth if you must go near it. Never iron directly on a print. A steamer, or hanging the tee in a steamy bathroom, is gentler and often enough. Treat iron-on prints with extra care, and prevent wrinkles by hanging tees straight after washing.
FAQ
Can you iron over a printed t-shirt?
Not directly. Heat can melt, smudge, crack or flatten the print. Turn the tee inside out, use low to medium heat, and iron around the graphic. If you need to smooth the printed area, place a thin pressing cloth between the iron and the fabric and press briefly.
What heat should I use to iron a printed tee?
Start on low or medium, and follow the care label if there is one. Cotton can usually take more heat, but most prints can’t. Keep the iron moving, press rather than slide over the printed area, and let the tee cool flat before handling it.
Is a steamer better than an iron for graphic tees?
For most graphic tees, yes. A steamer removes creases without direct pressure on the print, so the risk of damage is lower. Steam from the inside of the tee, keep the nozzle moving, and avoid holding steam on raised or textured prints for long.
How do I iron an iron-on print without ruining it?
Turn the tee inside out, use low heat, and place a pressing cloth or baking paper between the iron and the fabric. Never iron directly on the design, and let it cool completely before moving it. Too much heat can soften the adhesive and make the print peel.
How can I keep my tees wrinkle-free without ironing?
Take tees out of the washer as soon as the cycle ends, shake them out and hang them straight, smoothing the body and sleeves. Dry in the shade on a hanger, then fold or roll neatly. Hanging a tee in a steamy bathroom also relaxes light creases.